交换机的基本配置优质

本实验的模拟实验是在Cisco Pcket Tracer工具内操作
操作方法
- 01
在用户模式、特权模式、全局模式及接口模式之间转换SW1# //用户模式SW1>enable //特权模式SW1#config terminal //全局模式Enter configuration commands, one per line. End with CNTL/Z.SW1(config)#interface f0/0 //接口模式SW1(config-if)#exit //退回全局模式SW1(config)#exit //退回特权模式SW1#
- 02
将交换机的名称该为”student”;student#enablestudent#config tEnter configuration commands, one per line. End with CNTL/Z.student(config)#hostname studentstudent(config)#
- 03
将交换机的各个配置模式设置密码为”cisco”;student(config)#enable password ciscostudent(config)#line console 0student(config-line)#line vty 0 4student(config-line)#password ciscostudent(config-line)#loginstudent(config-line)#end
- 04
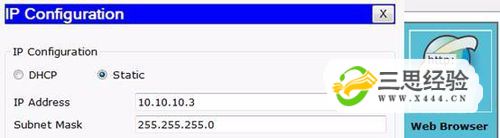
将交换机指定一个IP地址 10.10.10.x/24;student(config)#interface vlan 1student(config-if)#ip address 10.10.10.1 255.255.255.0student(config-if)#no shutdownstudent(config-if)#end
- 05
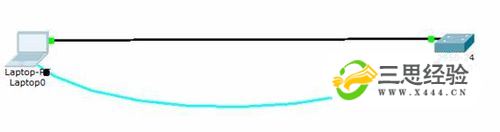
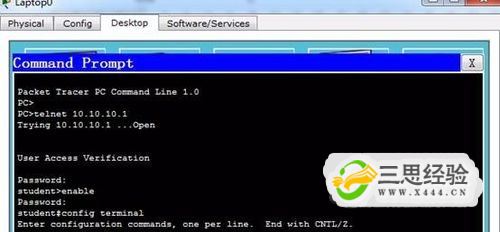
开启交换机的Telnet服务功能,并建立Telnet用户admin,口令cisco,并指定只能从10.10.10.y/24登入Telnet服务器;上面的陪我配置中远程服务已经开启,现在只需要将pc配置好就可以尝试远程登入了
- 06
开启交换机的www服务功能。student>enablestudent#config terstudent(config)#enable services web-sever
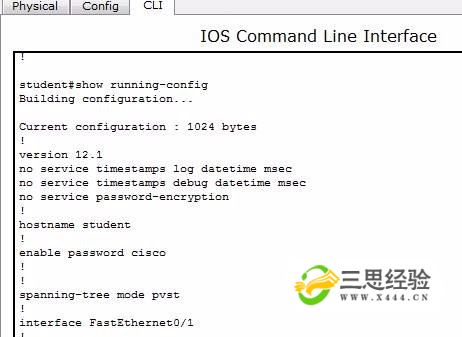
- 07
查看配置情况student#show running-config如下图为结果部分截图,我们可以看到版本为12.1、主机名为student、用户模式进入密码为cisco等等信息